Build a 1 Obby Course Layouts Guide
Five layout patterns, how to space beats, and where to put the finish line.
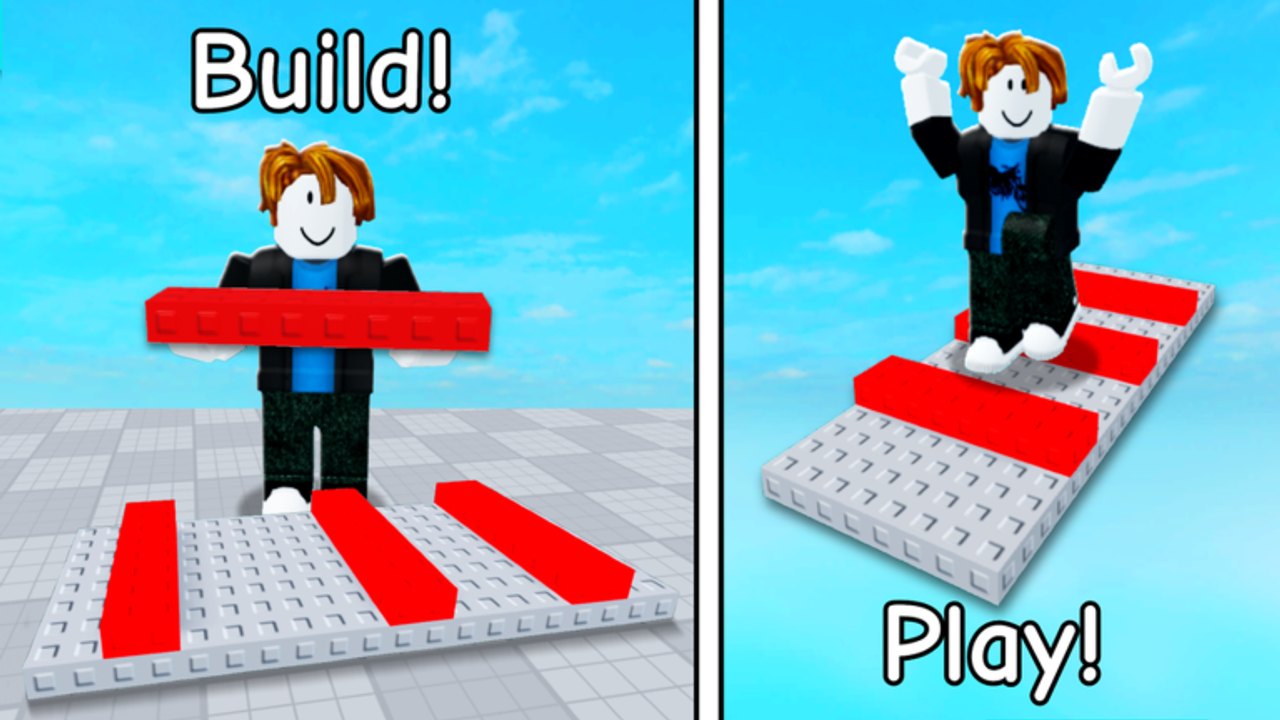
A course layout is the shape of your obstacle course. In Build a 1 Obby (Roblox: Build An Obby by Actually Pointless Games, place 131073502359683), layout determines how visitors read the course, how many completions they attempt, and how much cash you earn. This page covers five proven patterns, beat density rules, rest placement, and the one rule every layout must obey: there must be a finish line.
This page builds on How to Build, Controls, and the parts tier list. Read those first. This page is about the shape, not the individual parts.
The five patterns
1. Linear
A straight line of platforms from start to finish. Easiest to build, easiest to complete, and the most reliable cash earner for a new plot. Gaps are consistent, jumps are predictable, and visitors immediately understand the route.
Use linear when you are testing your first few layouts, when you want completions over aesthetic, or when the starter pad is still small. A linear course with six platforms and one ramp still pays more than a beautiful spiral nobody finishes.
2. Branching
Two or more paths that share a start and a finish. Players choose a lane and converge again before the end. Branching adds replay value — a visitor who took the left path the first time returns to try the right path.
Branch paths at difficulty, not at random. An easy branch and a hard branch both leading to the same finish lets beginners and experienced players coexist on the same plot. Balance gap widths and platform sizes so both paths feel completable.
3. Vertical
Climbing upward with walls, ramps, wall jumps, and jump pads. Vertical layouts make great use of a small plot footprint and create a natural difficulty curve: the higher you go, the harder the gaps. Visitors also feel a sense of achievement from the climb itself.
Use platforms as rest spots between vertical segments. A wall-jump climb without a landing after three jumps exhausts visitors. Place a checkered platform or wide cube at each major height change. Test every climb sequence at least twice before calling it done.
4. Circular or loop
A path that curves back on itself, creating a full loop from start back to start. Circular layouts feel more like a game level and less like a hallway. They work well for troll courses because the visitor thinks they reached the end, only to find the path looping back to a hidden lava section.
The risk with circular layouts is making the loop too obvious or too subtle. An obvious loop has no surprise; a too-subtle loop feels like a broken course. Aim for a loop that looks like a finish from a distance but reveals its continuation when you arrive at the apparent end.
5. Troll layout
A course designed to trick visitors into failing. Hidden lava under a platform that looks safe, a fading platform that disappears before the jump, a ghost path that leads nowhere. Troll layouts follow the rules from the Troll Obby Guide: there is always a real route, and the finish line always exists.
Troll layouts work best as a subset of another pattern. A linear course with one hidden lava pit is more effective than a maze of troll elements with no finish. The goal is one surprise, not a gauntlet of despair.
Beat density
A beat is a single challenge: a gap to jump, a platform to wait on, a jump pad to ride. Courses need beats spaced with rest between them. The rule from the parts tier list applies here: mix one S-tier beat, then a B-tier rest cube, then another S beat. Too many beats in a row exhaust visitors. Too few beats make the course boring.
The average playtime for Build a 1 Obby is about 13 minutes. Design your first S-tier beat to appear within the first two minutes. That is when visitors decide whether to stay or leave. After the first beat, space rest cubes every four to six platforms, and test the spacing by running the course yourself at normal speed.
Rest placement
Rests are B-tier platforms — wide cubes, checkered platforms, or basic platforms — placed after a difficult section. They let visitors breathe, decide whether to continue, and attempt the next beat without rage-quitting.
Place a rest before every S-tier element. Place another rest after it. Visitors who fail a jump pad and land on a rest are more likely to try again than visitors who fail into lava. This is not just kindness; it is income strategy. Every completion pays you. Every rage quit costs you a potential visitor.
Paint rest cubes a different color than danger elements. A neon green platform after a lava section reads as safe. The same platform painted the same color as the lava makes visitors hesitate, and hesitation reduces completions.
The finish line rule
Every course must have a finish. The finish line extends to your last placed part, but that part must be reachable, and it must be a platform — not a jump pad, not a fading platform, not a wall. A finish that sits on a ghost path or requires a coil to reach is not a finish. It is a wall.
Visitors who reach the finish line feel satisfied. They come back. They bring friends. Visitors who reach what they think is a finish only to find another jump generate refund requests in the form of server leave. Design the course to end cleanly. The earn cash page has the income math; this page has the shape rules.
Copying layouts from visits
When you visit other plots, you see layouts in action. What to copy: gap distances, rest frequency, the ratio of S beats to B filler, and how the finish line sits relative to the last challenge. What not to copy: sphere staircases, oversized kill boxes, and courses with no visible finish.
Rebuild the pattern, not the details. If a plot uses vertical branching with three difficulty levels, note the height progression and rebuild it on your pad with your own parts and your own paint. Good copying improves on the original. Cloning a sphere tower and calling it your own is not copying; it is a C-tier course wearing a stolen thumbnail.
Frequently Asked Questions
Quick answers for Build a 1 Obby on Roblox.
What is the best layout for a new plot?
Linear. A straight line of six to eight platforms with one ramp is the easiest to build, the easiest to complete, and the most reliable cash earner while you learn the shop and the spacing rules.
How many beats should a course have?
Design your first S-tier beat within the first two minutes of the course. Space rest cubes every four to six platforms after that. The earn cash page has the income math behind beat density.
Can I mix two layout patterns?
Yes. Most good courses are a hybrid: linear start, branching mid-section, vertical finish, with one troll element near the end. The troll obby guide requires a real finish, regardless of the pattern.
Where should the finish line be?
At your last reachable platform, not on a jump pad, fading platform, or ghost path. Visitors must be able to land on it without a coil or special tool. See the finish line rule in this guide.
How do I copy a layout without cloning it?
Copy the pattern: the gap distances, rest frequency, and beat-to-filler ratio. Rebuild with your own parts and paint. Spheres and kill boxes are not a pattern; they are a warning sign.